

BIAS WEAVING TECHNIQUE
With this technique you can get pieces such as neck warmers, table runners, shawls, ponchos and and what you can imagine! The woven fabric is light and elastic and colored threads combine in amazing ways. The loom is perfect for weaving with medium/chunky and bulky gauge yarn, art yarn and fancy yarns.


How to start... (Click to enlarge the images)
GOLDEN RULE: When you move forward with the zigzag weave to the right, wrap the teeth from left to right, when you return with the strand to the starting point, wrap the teeth from right to left always keeping the strands parallel.

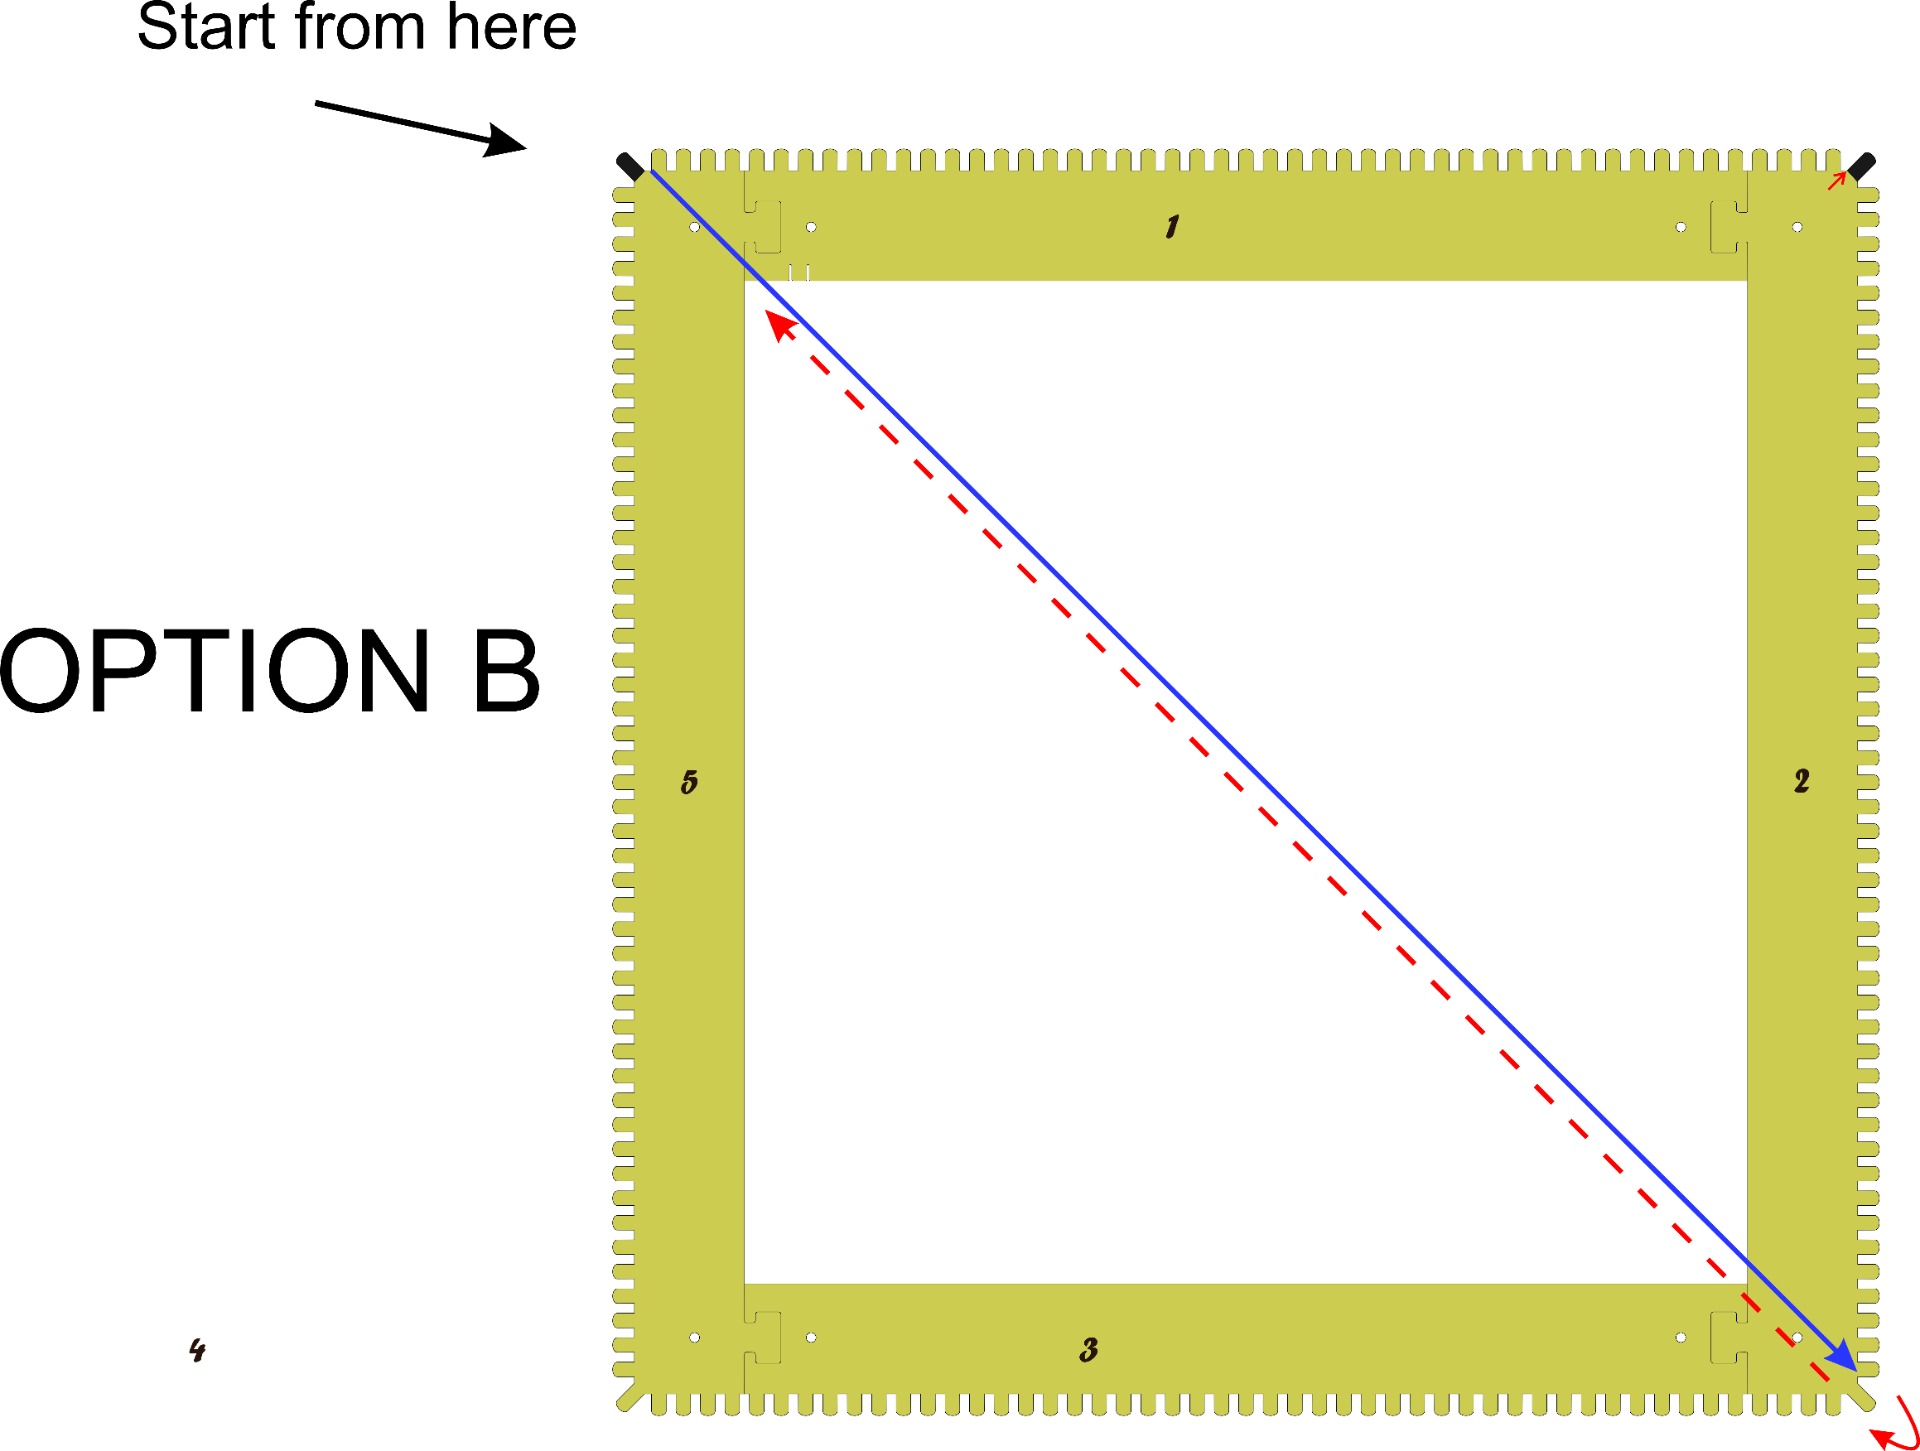


Bias Weaving Option A & D
Step 1: zigzag to the right (wrap around the tooth from left to right)
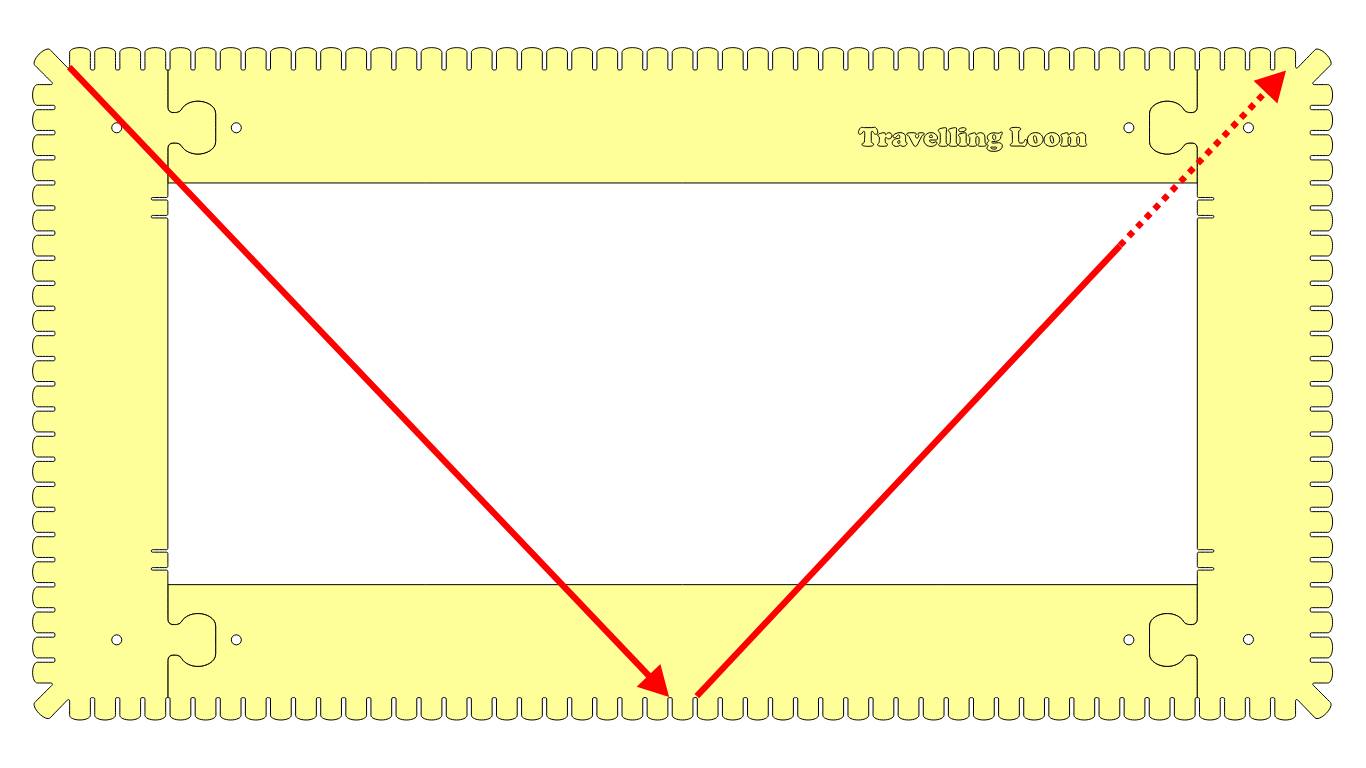
Step 3: Back to the starting point. The threads always run parallel to each other.
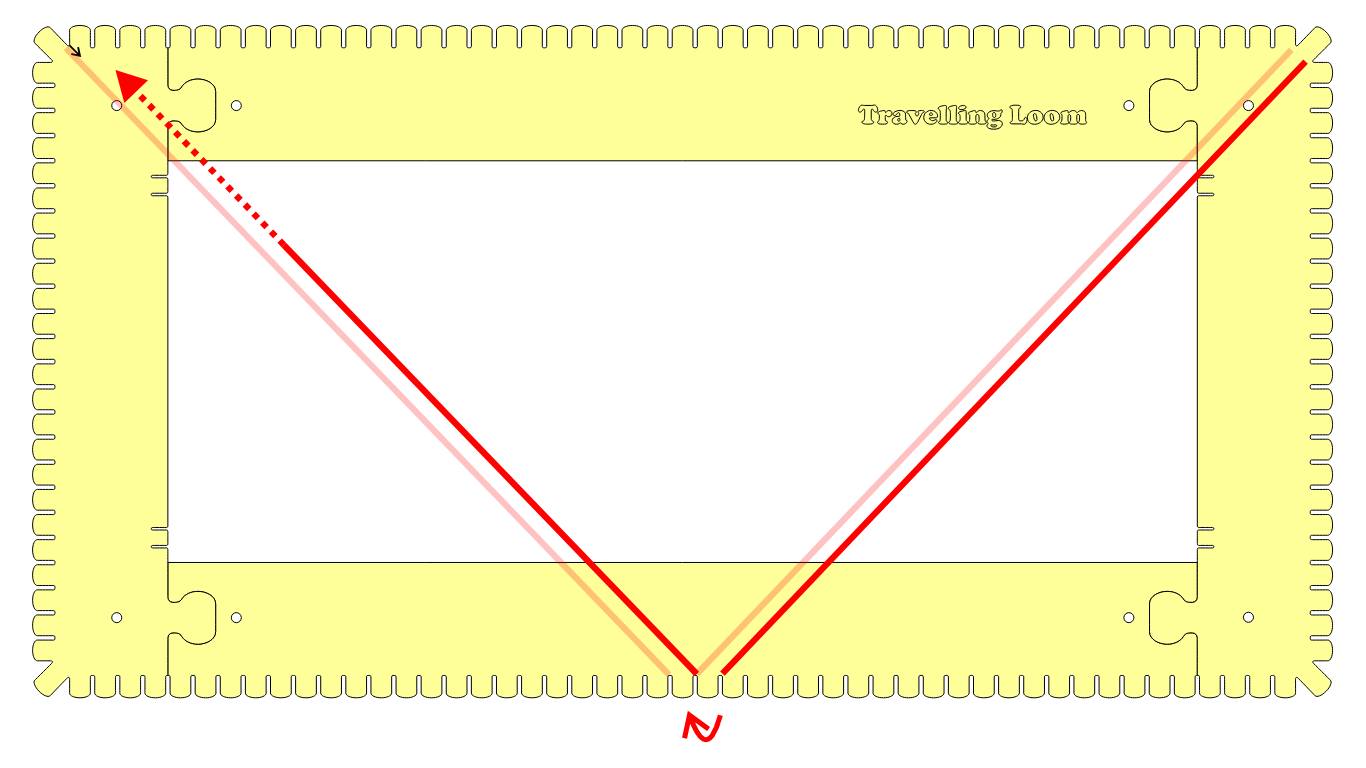
Step 2: zigzag return to the left (wraps around the tooth from to right to left)
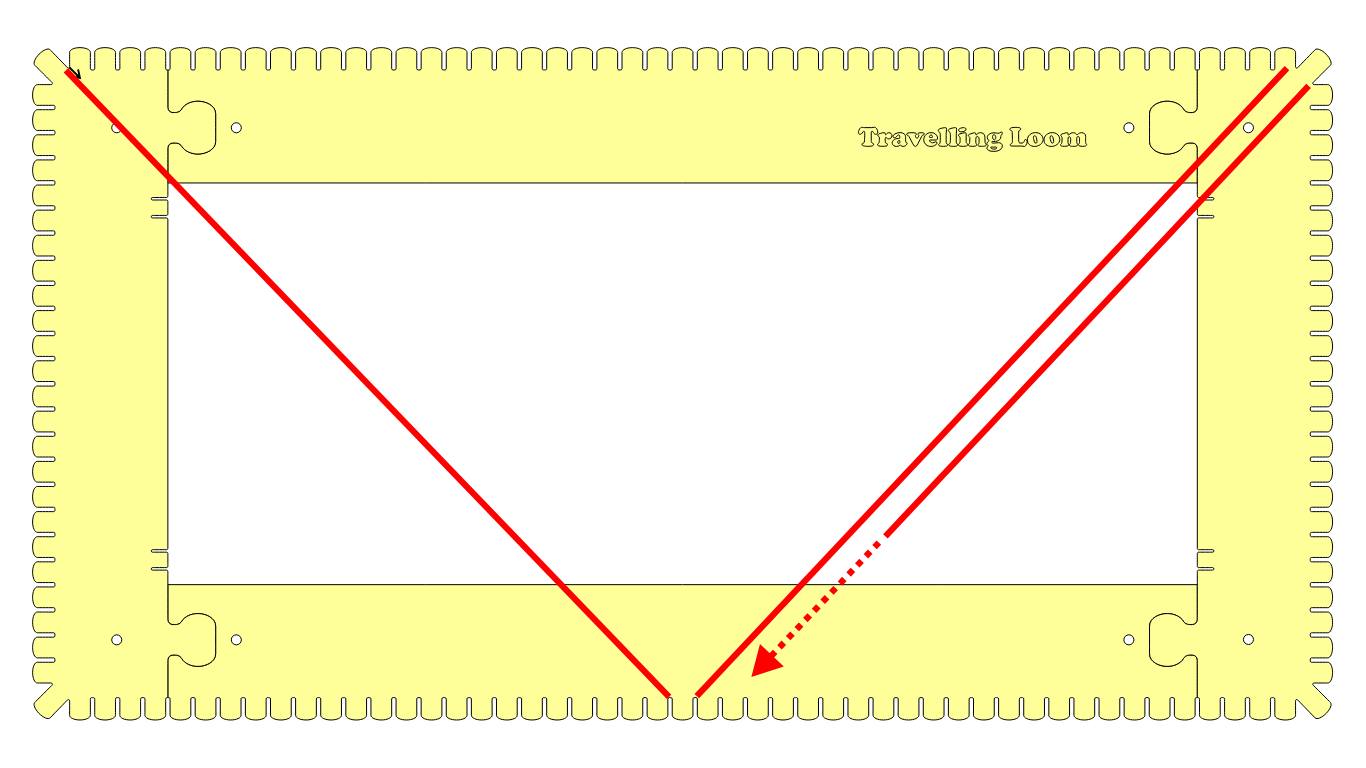
Step 4: Pass the double strand under the starting strand and wrap around the next tooth to repeat the process
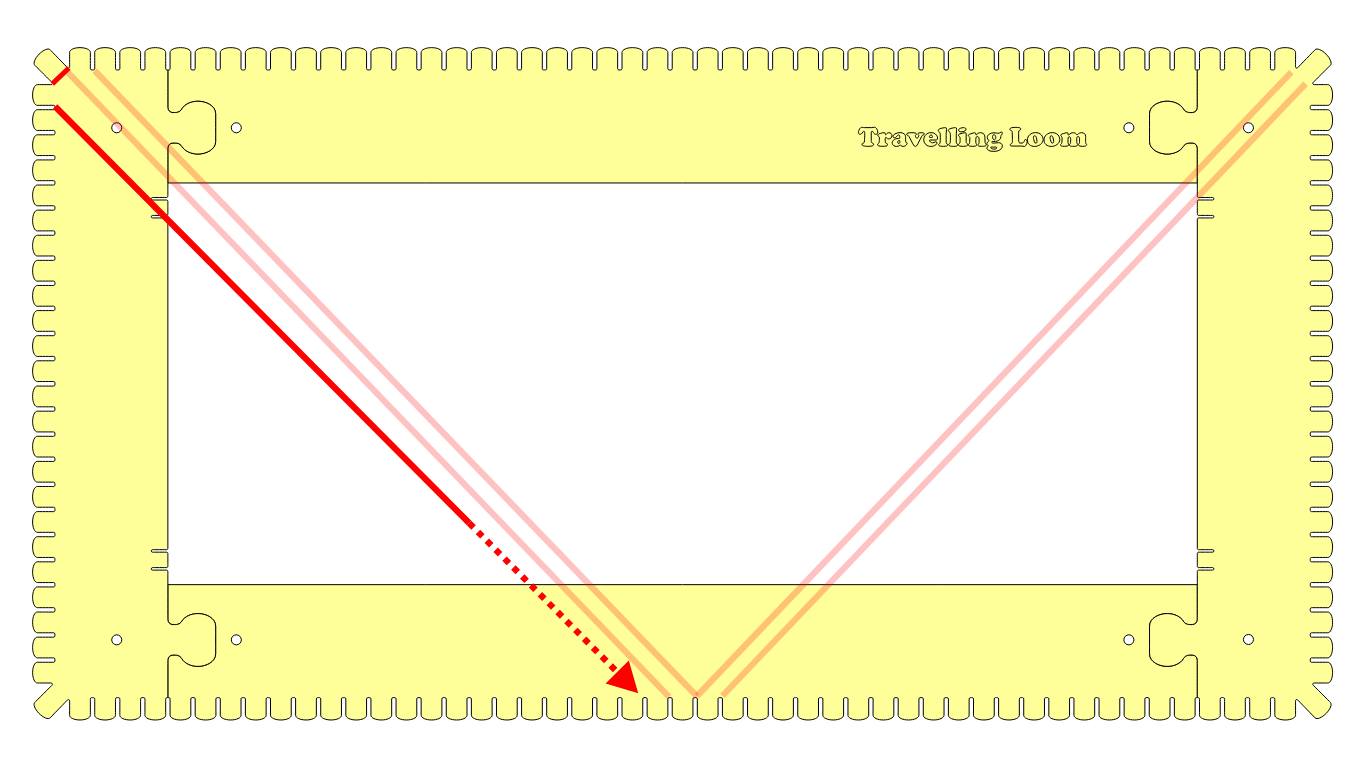
Weft the last round with single thread to finish the weaving.
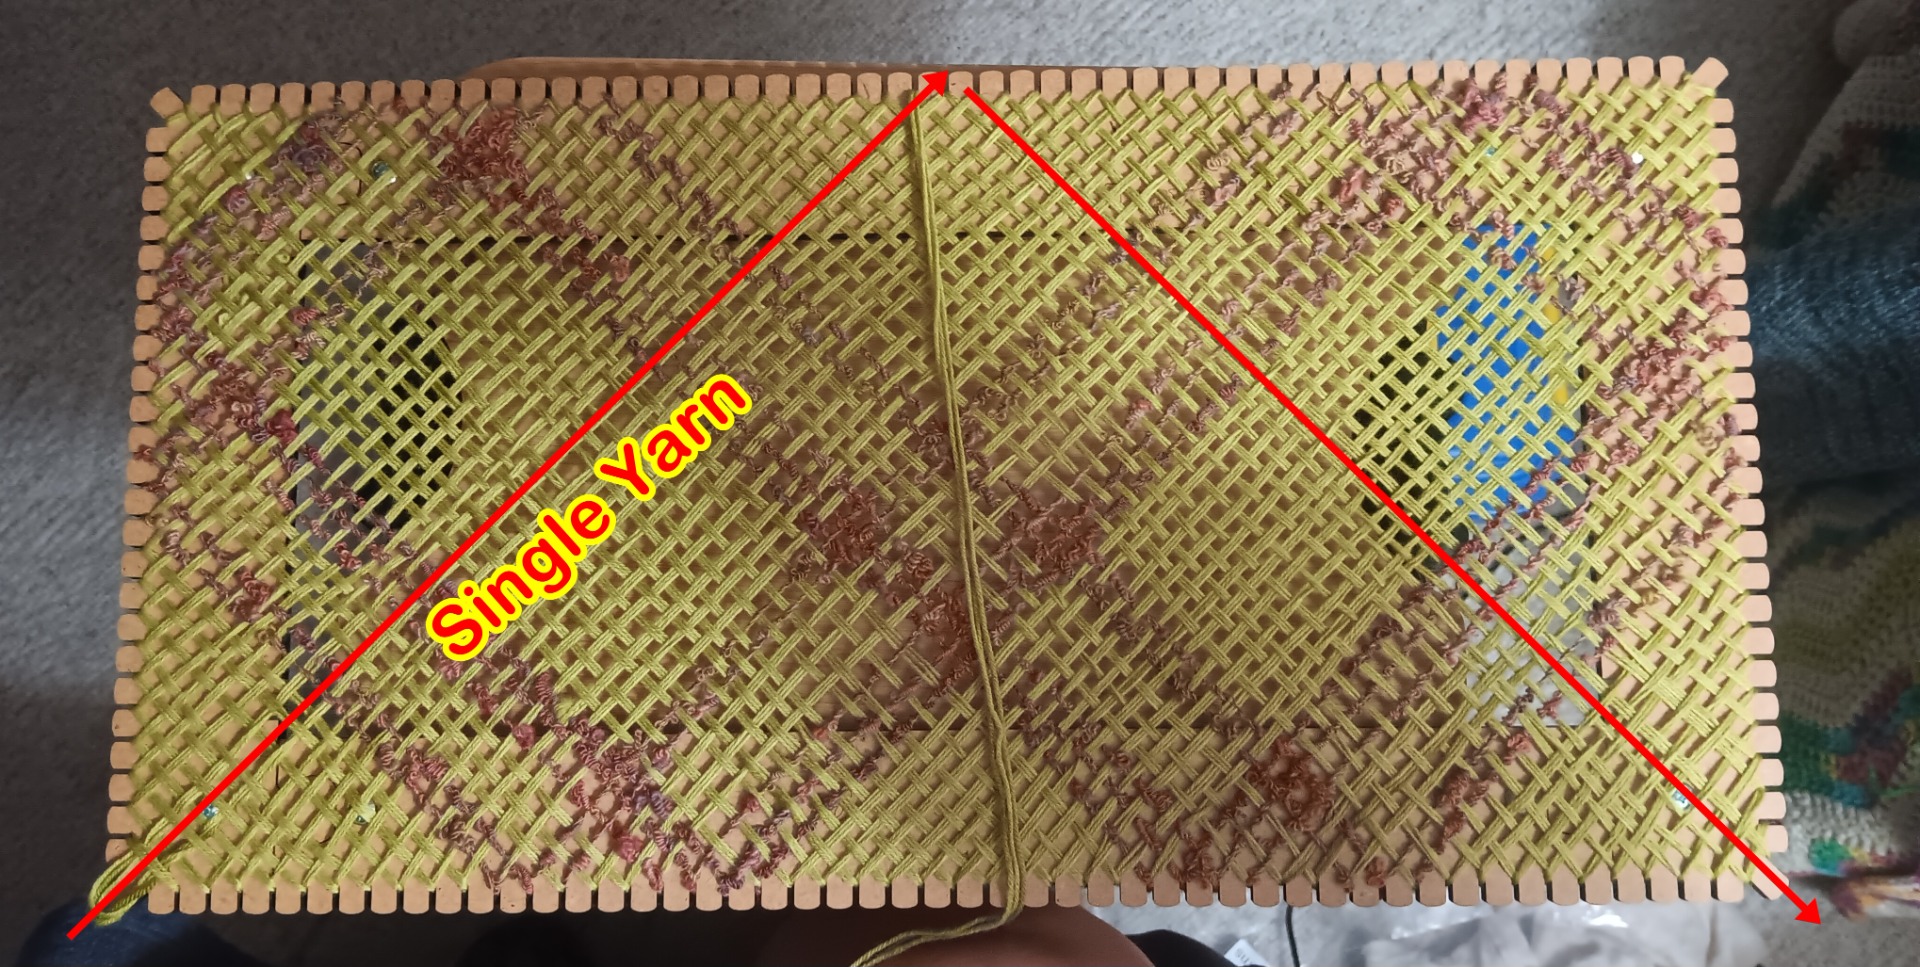
The direction of the "short V" drawn by the yarn can be up or down depending on which corner you start weaving from. Either way will be fine.
Bias Weaving Option C.
Part 1: First rounds.
Part 2: Changing the thread.
Part 3: Tools for weaving.
Bias Weaving Part 4: Last rounds.
Finishes
WATCH A PUBLIC YOUTUBE PLAYLIST WITH MORE VIDEO TUTORIALS
